.
Kannon-daira 観音平 to Puru-daira プール平
45.9 km
1508 metres
Highest point: 2899 metres
Start: Kannon-daira carpark
Finish: Puru-daira bus stop
Difficulty: ▅▅▅▅▅▅▅▅▅▅ ❺
Map: Yama to Kogen Chizu 山と高原地図 [No.35 八ヶ岳 YATSUGA-TAKE]
GPX TrackKML TrackGSI MAPPDF Topo Map
From October 11th to October 14th, 2024, I completed a 4-day traverse of the Yatsugatake Mountains located in the in the Yatsugatake-Chushin Kogen Quasi-National Park, starting at Kannon-daira in Yamanashi Prefecture and finishing at Puru-daira in Nagano. The length of the hike was approximately 46 km. It included scaling two Hyakumeizan: Aka-dake and Tateshina-yama, along with one Nihyakumeizan: Tengu-dake.
In Japanese, the traverse is known as 八ヶ岳主脈縦走 (Yatsugatake shumyaku jūsō), which translates to something like ‘Yatsugatake main mountain range traverse’. Much like the Okuchichibu Grand Traverse I completed last year, there was little information available online in English about this route. This piqued my interest, motivating me to hike it and introduce it to readers seeking a challenging multi-day adventure. Along with the Okuchichibu Grand Traverse, I consider it one of the premier long-distance trails in the Greater Tokyo Area. Although I had hiked quite a bit of the route over the years, this was my first time completing it in one go. I was fortunate to have incredible weather, though it did dip into freezing conditions overnight, which was to be expected given the time of year and the fact that most campsites are situated around 2,500 metres.
Yatsugatake can refer to either the entire Yatsugatake mountain range (Yatsugatake-renpo 八ヶ岳連峰) or just the southern portion centred around the highest peak, Aka-dake. The range is roughly divided into two groups: the Southern Yatsugatake Volcanic Group and the Northern Yatsugatake Volcanic Group, each with distinct characteristics. The Southern Yatsugatake mountains are steeper, more rugged, and alpine in nature, contrasting with the gentler, undulating terrain of Northern Yatsugatake. The southern section straddles Yamanashi and Nagano Prefectures, while the northern mountains lie entirely within Nagano Prefecture. Natsuzawa Pass 夏沢峠 located between located between Io-dake and Tengu-dake is generally said to mark the border between the northern and southern Yatsugatake ranges.
Yatsugatake Grand Traverse October 11th to October 14th, 2024
Kannon-daira to Puru-daira (4 days approx. 46 km)
Day 1: Kannon-daira 観音平 ➩ Amigasa-yama 編笠山 ➩ Seinen-goya 青年小屋 (乙女の水 Otome-no-mizu water source, 10 mins return) ➩ Gongen-dake 権現岳 (hut closed) ➩ Kiretto-goya キレット小屋 (water source 10 minutes return) unofficial campsite 6hrs 30mins / 8.3 km
https://www.kuroyurihyutte.com/
Day 2: Kiretto-goya キレット小屋 ➩ Aka-dake 赤岳 ➩ Yoko-dake 横岳 ➩ Io-dake-sansou 硫黄岳山荘 (1 litre, 100 yen) ➩ Io-dake 硫黄岳 ➩ Neish-dake 根石岳 ➩ Tengu-dake 天狗岳 ➩ Kuroyuri-hutte 黒百合ヒュッテ (tent 1,500 yen) (water available) 8hrs / 10.5 km
https://www.kuroyurihyutte.com/
Day 3: Kuroyuri-hutte 黒百合ヒュッテ ➩ Nakayama-toge 中山峠 ➩ Takamiishi-goya 高見石小屋 ➩ Maruyama 丸山 ➩ Mugikusa-toge 麦草峠 ➩ Shimagare-sansou 縞枯山荘 ➩ Kitayoko-dake 北横岳 ➩ Futagoike-hutte 双子池ヒュッテ (tent 1,500 yen advanced online reservations are required) (water available) 8hrs 30mins / 14.2 km
https://www.tateshina2531.com/
Day 4: Futagoike-hutte 双子池ヒュッテ ➩ Futago-yama 双子山 ➩ Tateshina-sansou 蓼科山荘 ➩ Tateshina-sancho-hutte 蓼科山頂ヒュッテ ➩ Tateshina-yama 蓼科山 ➩ Puru-daira bus stop プール平バス 6hrs / 12.9 km
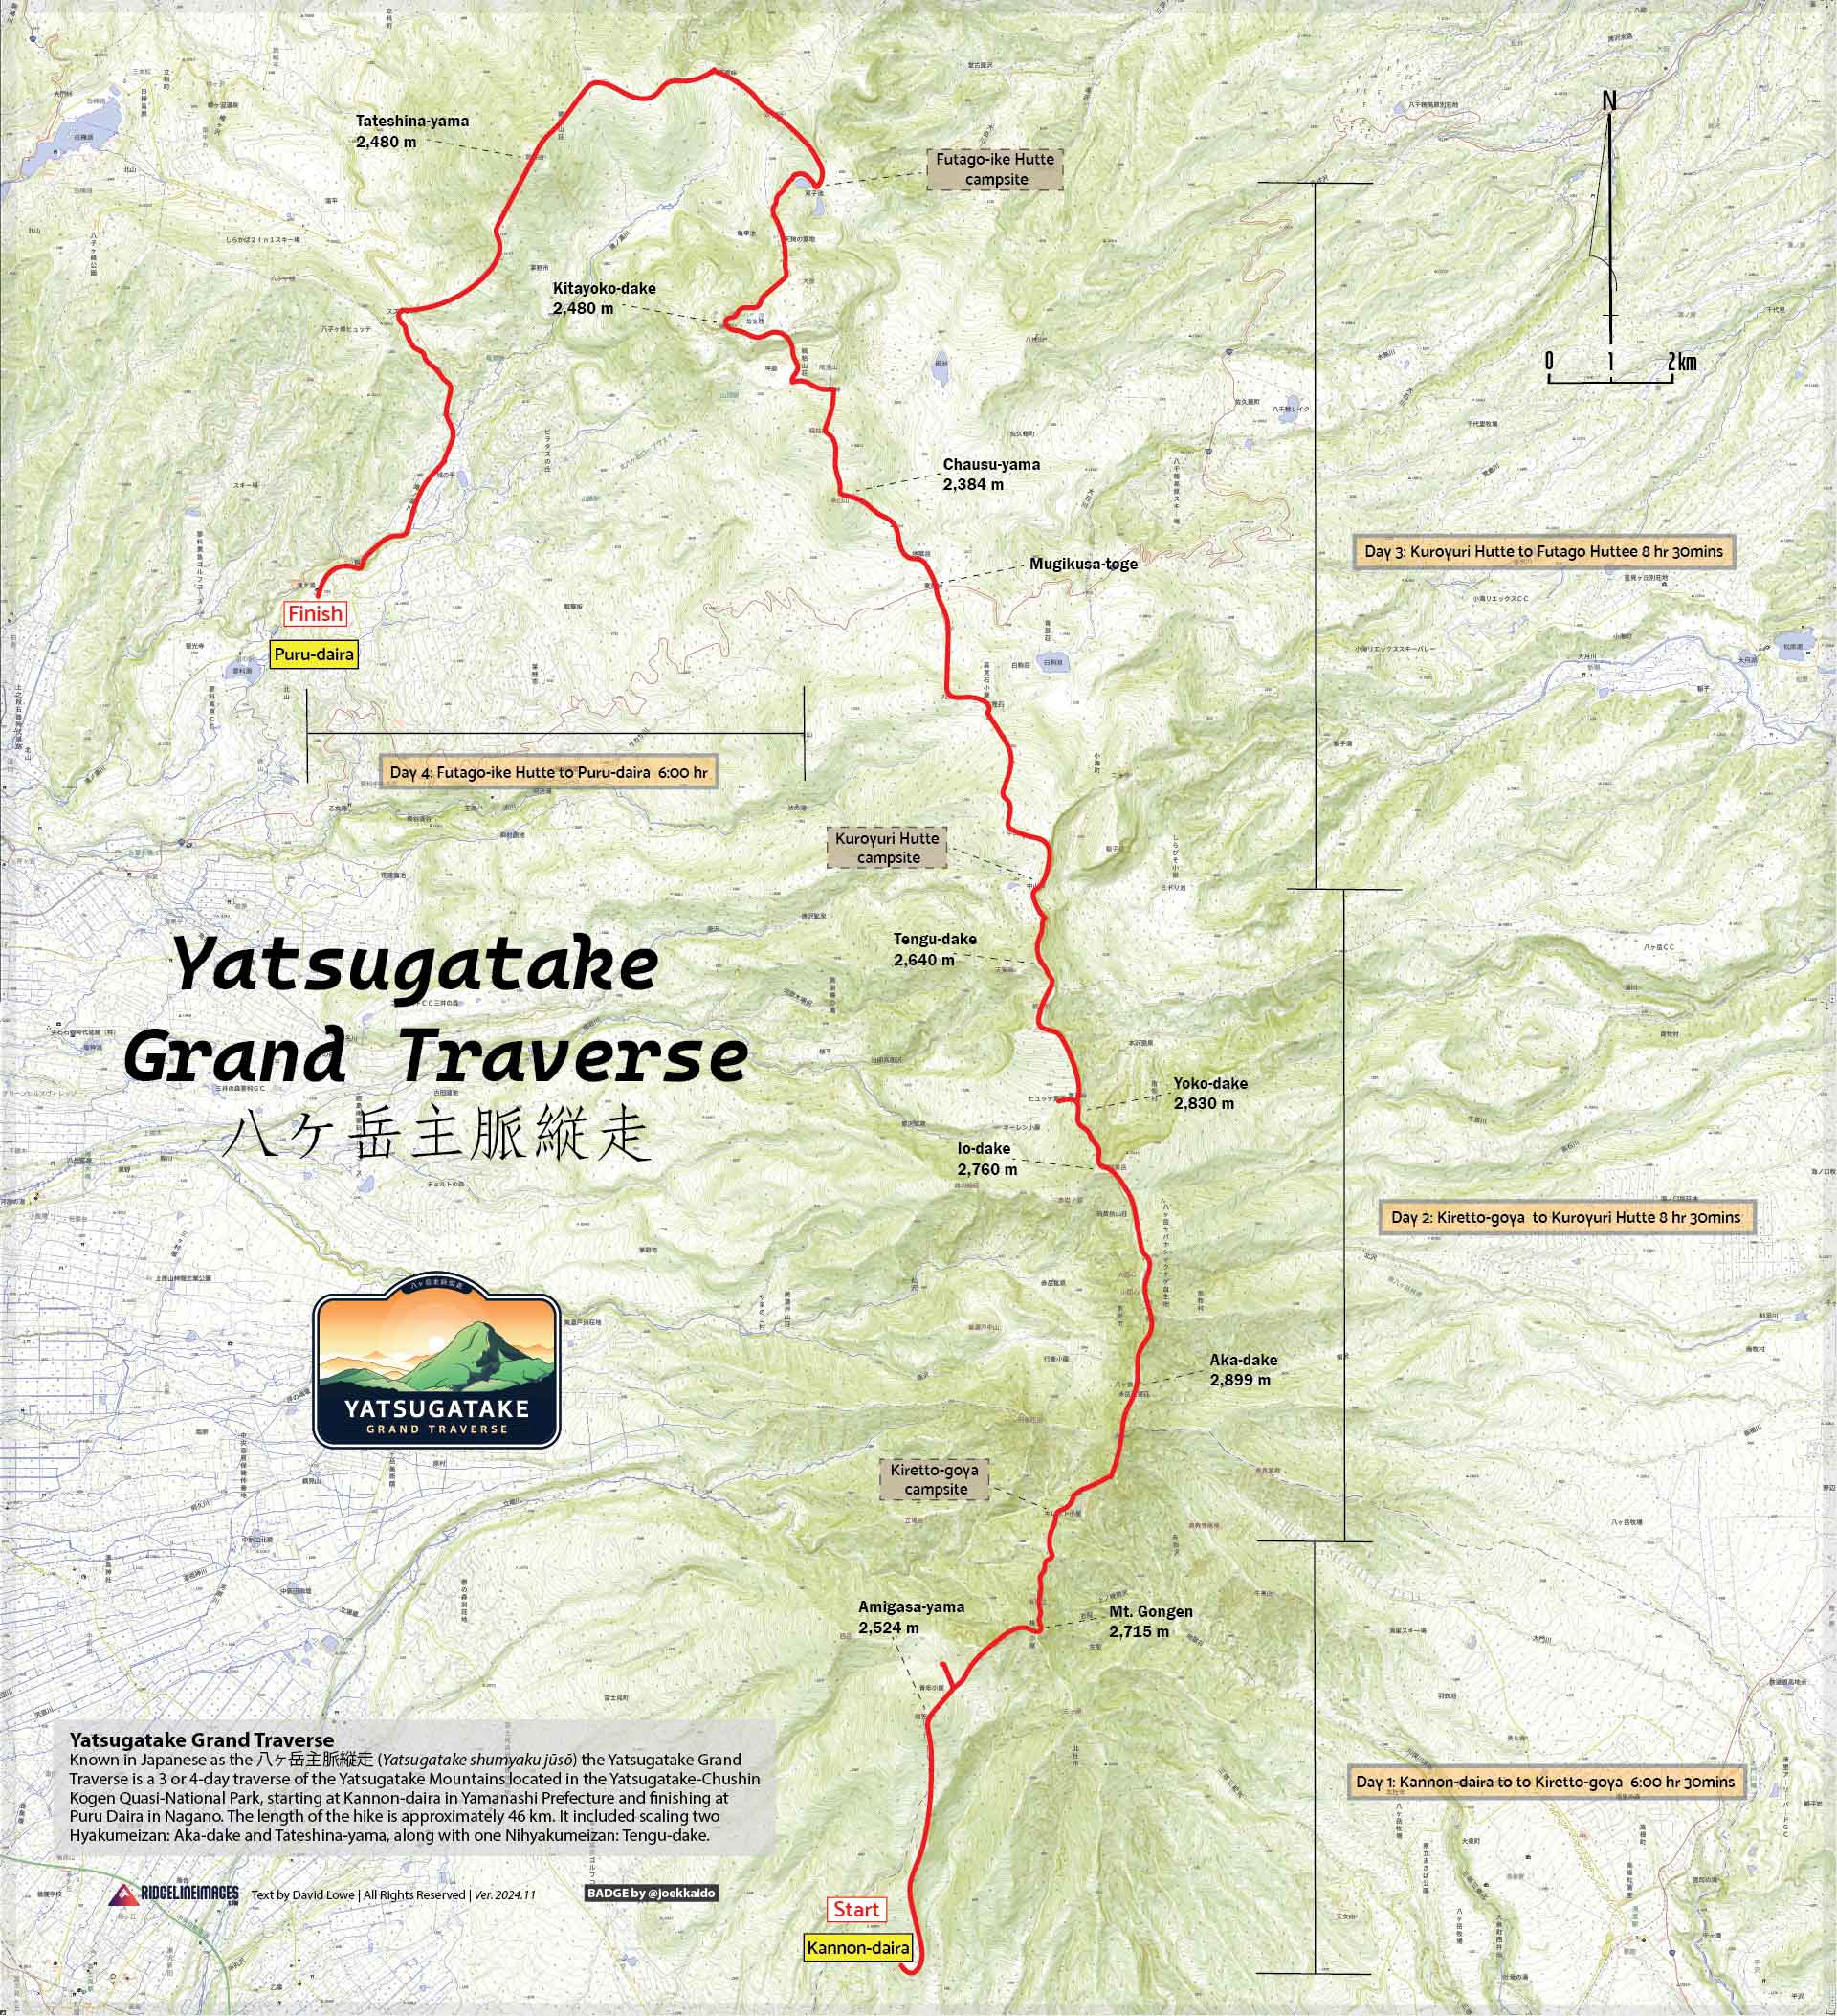 Yatsugatake Grand Traverse overview map.
Download Hi-res PDF version
When to Go
While the traverse can theoretically be done year-round, a lack of public transport at the end of the hike and deep snow-covered mountains make it impractical for all but the most experienced alpine climbers. For most people, the two best times of the year to undertake the hike are from Golden Week (late April) until mid-June and from September until late-October. Hiking during these times allows you to avoid the rainy season (mid-June to mid-July) and finish before the first snowfall, which typically occurs towards the end of October. In April, there can still be significant snow cover, and from mid-July to the end of August, the heat and humidity are intense, even above 2,500 metres.
Can it be Done in Fewer Days?
In general, I believe 4 days is a comfortable duration to complete the hike. However, if you tend to walk faster than the estimated times on maps and don’t mind long days, compressing it into 3 days is feasible. In this case, the first day would remain unchanged unless you opt to stay in a mountain hut, as the next campsite after Kiretto-goya isn’t until Honzawa Onsen. To manage this, on the second day, aim to reach at least Shirakoma-so (about 10 hours). This would leave around 13 hours for the final day. One advantage of starting from the Yamanashi end is that the altitude gradually decreases from Aka-dake until the final push up Tateshina-yama, making it a bit easier.
Access
Reaching the trailheads requires a combination of public transportation and a taxi connection. From Tokyo, take a JR Chuo Line train bound for Takao. Train changes are typically required at Takao, Otsuki, and Kofu, and you should get off at Kobuchizawa Station 小淵沢駅. Since 2021, it’s been possible to reserve a ‘mountain taxi’ departing from Kobuchizawa at 9:00 am (bookings must be made online with a credit card by 5:00 pm the day before). The fare is 1,500 yen on weekdays and 1,800 yen on weekends. In 2024, this service operates from June 15 to November 15.
For my hike, to ensure sufficient daylight, I took local trains to Kobuchizawa, arriving around 8:00 am, and then caught a regular taxi, which cost 4,000 yen. This ended up being roughly the same as the cost of taking the limited express Azusa train plus the mountain taxi. For the return journey from the Puru-daira bus stop プール平, there are 2-5 daily buses to Chino Station, running from April 27 to October 27 in 2024. The fare is 1,300 yen (cash only), and the trip takes approximately 35 minutes.
Huts, Campsites and Costs
Camping helps keep costs to a minimum. However, post-COVID, most huts have increased their campsite fees, with some even doubling them. If you plan to stay in huts, the cost will be significantly higher, as accommodation prices have also risen, with the average now around 11,000 yen per person per night, including dinner and breakfast. Apart from Kuroyuri-hutte and Shimagare-sansou, which are open year-round, all other huts operate seasonally, and in some cases, caretakers are only present on weekends. The closest hut to being open year-round along the upper ridgeline is Akadake-tenboso, which is open during part of the winter season.
The cost breakdown for my trip was as follows:
• Taxi to the trailhead: 4,000 yen
• Bus to Chino Station: 1,300 yen
• Campsite fees: 3,000 yen
• Miscellaneous expenses (water, toilet, drinks, and snacks, approx. 1,000 yen)
Total: 9,300 yen vs. (staying in huts) 40,300 yen
Cut and Run
If, for any reason, you need to cut your hike short, it’s important to know where you can safely exit the trail. I’ll highlight the available options in the daily trail reports.
Food and Gear
As with any multi-day hike, it’s essential to strike a balance between bringing necessary gear and comfort items that, while adding weight, enhance both safety and the overall experience. If hiking during the shoulder seasons, be sure to pack sufficient warm clothing, as temperatures can drop to near freezing overnight. My gear and food were similar to what I carried on the Southern Alps Traverse. Mountain huts along the traverse serve meals only to paying guests, though most sell basic snacks like instant noodles. Lunchtime options such as ramen, udon, or curry rice are typically available for around 1,200 yen. My pack, including food, weighed just over 11 kg. Adding water made it moderately heavy, especially at the start.
 Food carried on the Yatsugatake Grand Traverse.
The Badge
To complement this multi-day hike, I was eager to include an eye-catching logo or badge that would be instantly recognisable to those familiar with the hike and the area. Thanks to the skills of Hokkaido-based designer and illustrator Joe Scott, I was able to achieve just that for the second time running.
Yatsugatake Grand Traverse
Day 1: Kannon-daira to Kiretto-goya
Day 2: Kiretto-goya to Kuroyuri-hutte
Day 3: Kuroyuri-hutte to Futagoike-hutte
Day 4: Futagoike-hutte to Puru-daira bus stop
Day 1: Kannon-daira 観音平 to Kiretto-goya キレット小屋
6hr 30min 10.4 km 1317 m 504 m Oct 11, 2024
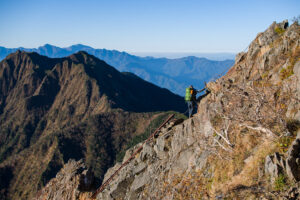
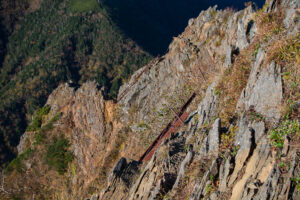
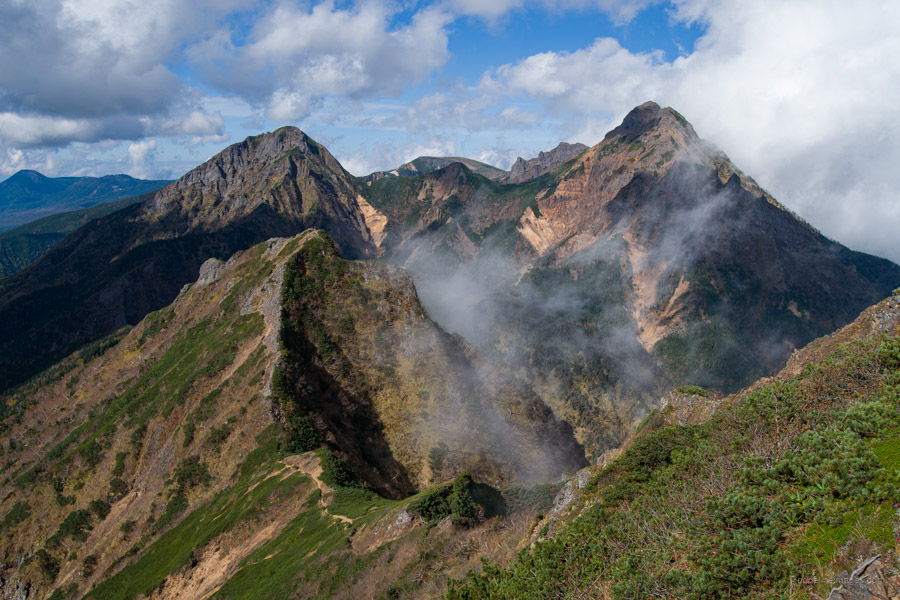 The precipitous Kiretto ridge with steep drops on both sides.
Route:
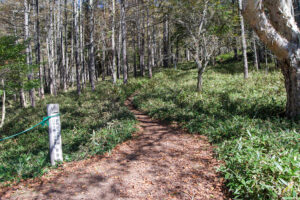
The trailhead is found at the back of the Kannon-daira 観音平 carpark. Look for a sign pointing towards Amigasa-yama, the vanguard of the Yatsugatake massif, famed for its stunning views. The climb starts on a gentle slope covered in tall bamboo grass. A little further in, you should catch a glimpse of Gongen-dake through the trees. After about 40 minutes of steady climbing, you’ll reach a resting spot known as the Sea of Clouds 雲海. In this area, the trail can be indistinct, especially in foggy conditions.
From here, the trail shifts to one with large, smooth stones, almost like a riverbed – a constant theme throughout the hike. At the next junction, note the trail branching off to the right at Oshide-gawa 押手川, an alternate route leading around to the Seinen-goya 青年小屋. Ignore this and continue climbing toward the summit of Amigasa-yama 編笠山 (2,524 m). As the name suggests, water flows here in small amounts depending on the season. After passing Oshide-gawa, the steep, rocky ascent to the summit begins. As you near the top, the tree line recedes, offering a breathtaking view of the Southern Alps, along with Mt. Fuji. Once you’ve broken through the tree line, it’s a short 10-minute walk to the summit.
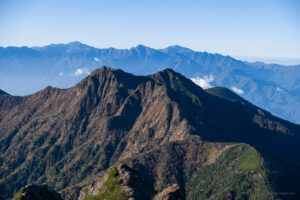
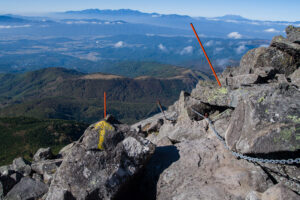
The rocky summit affords a 360-degree panorama of the surrounding area. If the weather is clear, enjoy an unobstructed view of the Yatsugatake volcanic group, stretching from Aka-dake and Amida-dake to Tateshina-yama, with Lake Suwa and Chino City spread out below. In the foreground lies Higashi Giboshi and Gongen-dake, with its namesake hut nestled steadfastly below the ridgeline. After soaking in the view, begin the descent to the Seinen Hut. The area around the hut is littered with huge rocks, reminiscent of Mt. Tateshina. Red-painted markings on the rocks help guide the way there.
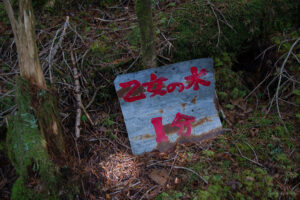
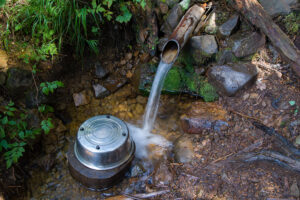
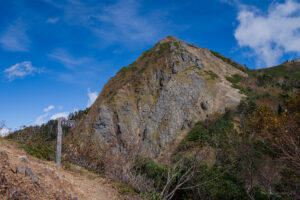
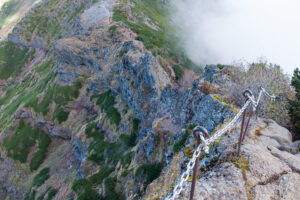
There is a large, windswept campsite behind the hut, with a reliable water source at Otome-no-mizu 乙女の水, a 10-minute round trip. After replenishing your water supply, the hike ascends back above the forest. In Yatsugatake, the tree line is generally around 2,500 metres. The trail initially zigzags, gradually steepening as it winds around the sheer cliffs that surround Higashi Giboshi 東ギボシ. Some sections require the use of fixed chains, especially during the final traverse. From here, Aka-dake towers above with its reddish-tinted hue, commanding an overwhelming presence. At the fork in the path, you can make a quick round trip to the summit of Gongen-dake 権現岳 (2,715 m), which is less than five minutes away.
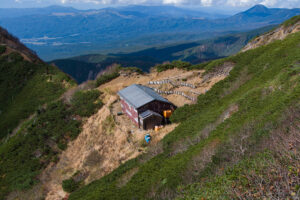
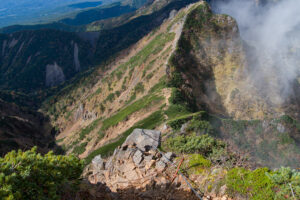
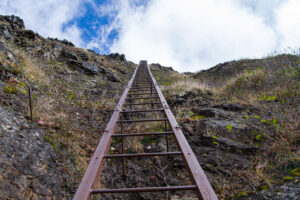
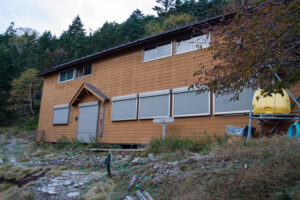
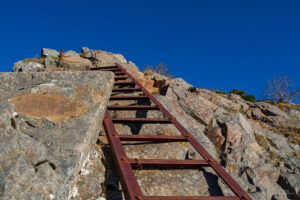
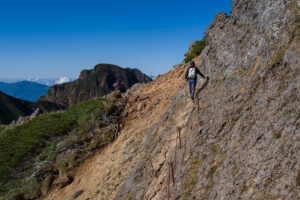
The final target for the day is the Kiretto Hut, burrowed in a saddle between Gongen-dake and Aka-dake. First, however, you must brace yourself for the descent down Gongen-dake’s infamous iron ladder, reportedly 20 metres high but thankfully anchored at a manageable angle. Reaching the saddle is another challenge, as the Kiretto knife-edge involves several ups and downs, with the difficulty ratcheted up a notch. ‘Kiretto‘ 切戸 is a Japanese word meaning a narrow ridge with steep drops on both sides. Kiretto-goya キレット小屋 is hidden in the forest, so it remains out of sight until you are right in front of it. After completing the hike, I discovered that the campsite was officially closed this year, although there was no signage indicating this, and portable toilets were unlocked. There is a nearby water source, though it shouldn’t be relied upon, although it was flowing on this occasion.
Diary:
This trip marked my fifth visit to these magnificent craggy peaks, starting with Aka-dake ten years ago. Since then, I’ve made separate trips to Tateshina-yama, Kitayoko-dake, and Tengu-dake, but for some time now, I’d been considering hiking the Yatsugatake Volcanic Group – minus Amida-dake – in one go. The forecast for the hike, which promised sunny and clear conditions, only made the idea more appealing.
As I exited Kobuchizawa Station, I spotted a lone taxi and made a beeline for it before it inevitably slipped away. Being a Friday at the peak of hiking season, taxis were likely in short supply, and I could have faced a long wait for another. The driver was up for a yak, and during the short 15-minute ride to the trailhead, we mused about the weather and other small topics. While day hikes are enjoyable, I prefer overnight and multi-day trips. They offer the greatest satisfaction, allowing me to fully escape the distractions of daily life. My phone stays off most of the time, used only for brief messages or weather checks. This four-day Yatsugatake traverse aligned perfectly with that ethos. Starting on a weekday had its benefits too: fewer hikers on the trails and a good chance that, at least on the first evening, I would enjoy some peace and quiet at the campsite.
The 1,000 metres of elevation gain to the summit of Amigasa-yama was, as expected, quite challenging. It reminded me that this hike wasn’t going to be a walk in the park. At the top, I chatted with a couple of fellow hikers about the fine views and the exquisite weather we were fortunate to have. Upon reaching the Seinen Hut, I found the place almost deserted, with just a couple of hikers milling about at the campsite. At the nearby water source, I came across a couple of mountain porters, or ‘bokka,’ hauling heavy loads to the hut on ladder-like ‘shoiko’ wooden frames fitted with shoulder straps. I could only speculate as to the weight, but some of these guys regularly carry 100-kilogram loads of meat, vegetables, and beer!
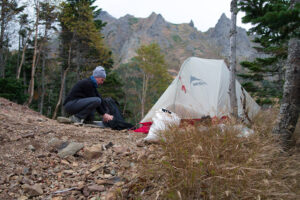
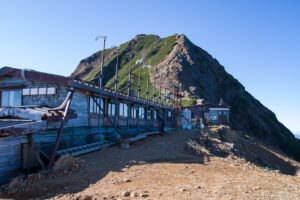
After forcing down a couple of conbini tuna onigiri – probably the last ones I’ll want to eat for a very long time – I steeled myself for the tough climb up Gongen-dake. A couple of times, I found myself straying from the path, only to pull out the GPS and climb back down to avoid scrambling up less stable verges. The mountain hut just below the summit appeared abandoned, with no paying guests since 2022. Given its battered state, it sadly doesn’t seem likely to reopen. The long ladder descending from the summit was a thrill, much more enjoyable than the slow, careful descent to the Kiretto Hut. Knowing I was likely the last person hiking out on the ridge at that time of day made me extra cautious. As expected, I was the only one at the campsite by the hut, so I pitched my tent in a prime possie under the gaze of the towering Aka-dake massif.
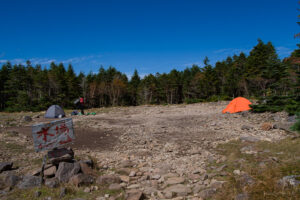
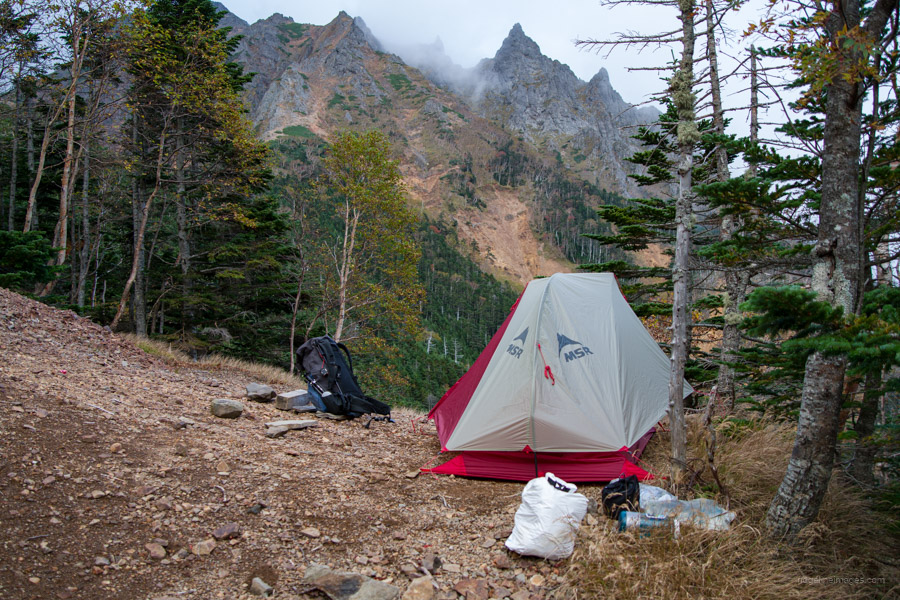 Kiretto Hut campsite.
.
Day 2: Kiretto-goya キレット小屋 to Kuroyuri-hutte 黒百合ヒュッテ
8hr 10.5 km 947 m 973 m Oct 12, 2024
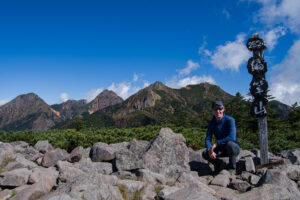
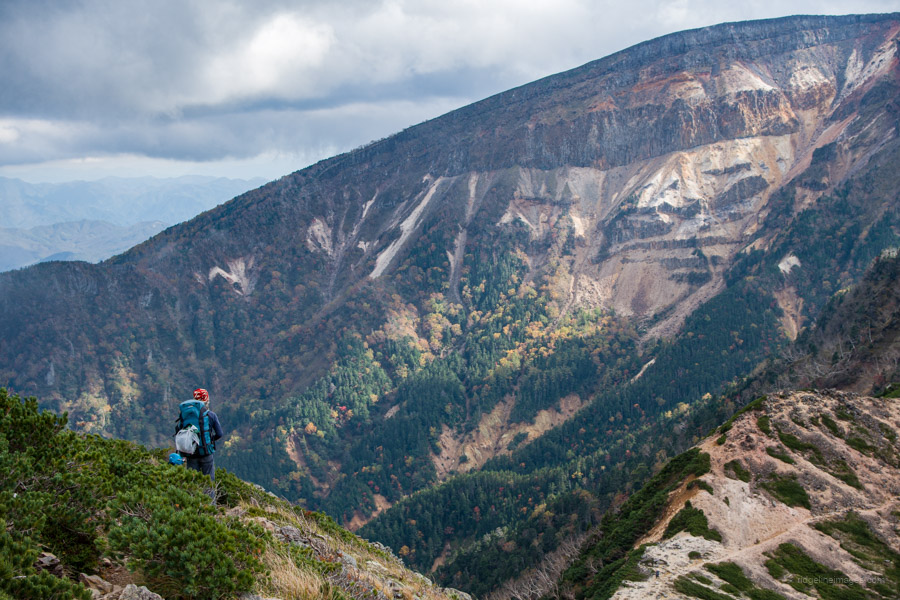 Stunning panorama from Tengu-take.
Route:
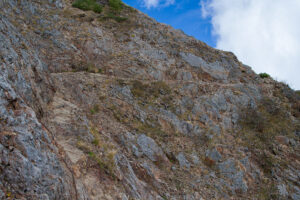
While the first day presented some challenges, the second day of the traverse raises the stakes, especially with the initial steep approach to Aka-dake, the highest peak. The path to reach it is by no means easy and shouldn’t be underestimated. From the campsite, the ascent looks improbable, but the trail winds through the rugged terrain with the help of ladders and fixed chains. Wearing a helmet is also a good idea to protect your head from dislodged rocks and stones. The standard course time to the summit is about two hours.
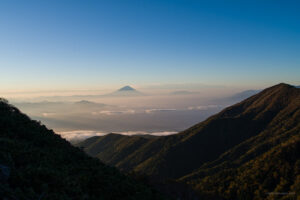
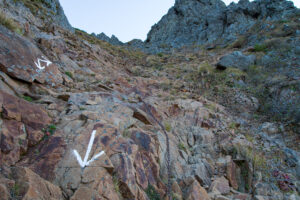
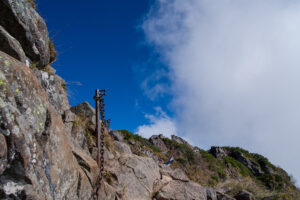
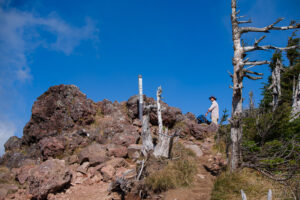
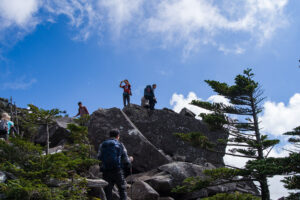
Shortly after leaving the hut, there’s a short but dangerous section of trail with a fixed chain to help manoeuvre past. In clear weather there is a fine view of Fuji-san, and Kinpu-san can also be spotted, marked by the distinctive Gojoiwa Rock at the summit. The trail then transitions to a steep, rocky slope that becomes increasingly difficult to climb. As you gain elevation, it begins to resemble something that could hardly be called a trail, often requiring you to climb on all fours for adequate traction. White painted arrows and circles, along with the occasional fixed chain, guide the way. A bit further on lies the crux of the Kiretto route: a fixed ladder on a cliff face. Climbing up is manageable, but descending would be daunting due to the incredible sense of height. After passing another rock cliff, the summit finally comes into view, where the trail joins the Bunzaburo Ridge Route from Gyoja-goya.
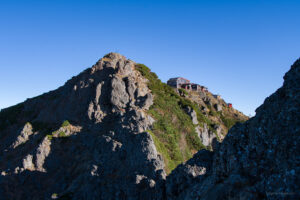
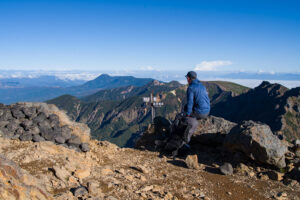
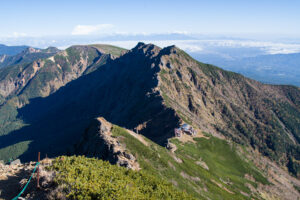
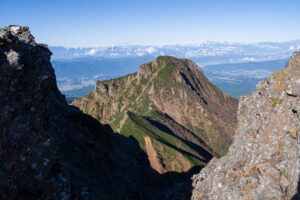
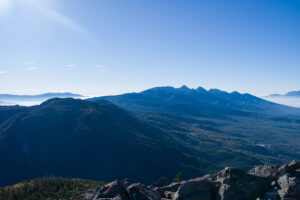
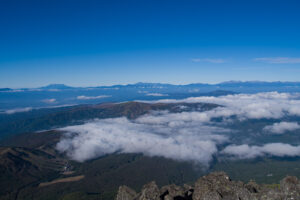
From the summit of Aka-dake 赤岳 (2,899 m), you can enjoy a 360-degree view. To the north, the entire main spine stretches towards Tateshina-yama, at the northern end of the Yatsugatake Mountain range, another two days’ hike away. Below, you can see the roofs of Gyoja-goya and Akadake-kosen. Looking south, Gongen-dake and the entirety of the Kiretto trail that you’ve been following come into view, with the Southern Alps rising behind them. Neighbouring Amida-dake 阿弥陀岳 looks tempting, but it’s off the main ridge trail and requires over a two-hour round trip. Aka-dake’s summit has two peaks: the North Peak and the South Peak, with Akadake-sancho-sansou 赤岳頂上山荘 located on the North Peak.
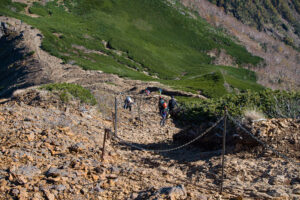
From the summit, it takes about 20 minutes to descend a long section of chains to Akadake-tenboso 赤岳天望荘, located in a saddle. Continuing along the craggy ridgeline brings you to a fork at Jizo Ridge. From here, the path steepens as it climbs along sharp rock verges to the summit of Yoko-dake 横岳 (2,830 m), Yatsugatake’s last active volcano. After reaching the summit, the knife-edge ridge continues, with more fixed chains to safely guide you down. Most of the dangerous sections will be behind you once you reach Io-dake-sansou 硫黄岳山荘, an ideal spot to take a break. The hut serves lunch, and you can refill your water bottle here (1 litre, 100 yen).
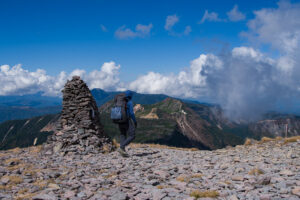
When you’re ready to head off, start by following the path towards the flat, spacious summit of Io-dake 硫黄岳 (2,760 m). The large stone cairns serve as landmarks when it gets foggy, as this flat area makes it easy to get disoriented in poor visibility. The most impressive sight is the huge explosion crater on the northern slope stretching out below. After descending from Io-dake, you’ll arrive at Yambiko-so 山びこ荘 and Natsuzawa Pass 夏沢峠, which marks the division between the southern and northern Yatsugatake Mountains.
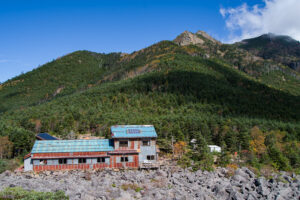
Heading uphill brings you to Mikaburi-yama 箕冠山, where the final two mountains of the day – Nishi-Tengu-dake 西天狗岳 (2,645 m) and Higashi-Tengu-dake 東天狗岳 (2,640 m) – stand before you. Skirting past Neishi-dake-sanso leads you to Neishi-dake 根石岳, followed by a final push to the first of the pair, Higashi-Tengu-dake, one of Japan’s 200 famous mountains. The last task of the day is rock-hopping your way down to Kuroyuri-hutte 黒百合ヒュッテ, a spacious campsite with water available for guests.
Diary:
Like the first day, I was fortunate to wake up to beautiful, sunny weather though it had rained overnight and condensation on the tent fly had formed hoar frost. Since switching to the Nemo Tensor all-season sleeping pad, I no longer feel cold when temperatures dip to freezing, allowing for much better sleep. After my usual breakfast of instant coffee, muesli with powdered milk, and dried mango, I readied myself for what was likely to be the toughest day on the trail.
Climbing alone through rocky verges demanded my full concentration, as I carefully maintained three points of contact to minimise the risk of slipping or falling. At one point, I attempted a detour that led to a tight spot, forcing me to awkwardly backtrack. Ascending the precariously anchored ladder on the cliff was an adrenaline rush, and I was grateful to be facing it in the upward direction. Throughout the morning, I encountered a whole lot more fixed chains and ladders, keeping me on my toes.
What struck me most, compared to my first visit a decade ago, was the increased number of climbers wearing helmets. In fact, I was in the minority for not wearing one. This is undoubtedly a positive change, though I can’t pinpoint the exact reason – perhaps it’s simply a case of following the crowd. It’s still surprising, considering the general reluctance of many of these same people to wear bicycle helmets. Another thing worth noting is the prevalence of bear bells. Given the high, exposed ridgelines of the Yatsugatake Mountains and the constant flow of hikers, it’s one of the least likely places to encounter a bear. Still, many people choose to wear them, suggesting they’re more of a habit or personal talisman than a practical necessity – much like carrying a rabbit’s foot for luck.
From Aka-dake onward, the trail became increasingly crowded with weekend warriors taking advantage of the rare, excellent climbing conditions. Here, I appreciated the solitude of the previous day. The significant difference between busy and quiet mountains lies in the nature of interactions. On busy trails, communication is often limited to a simple ‘konnichiwa.’ In contrast, after a few hours of solo hiking, encounters with fellow hikers can lead to valuable trail intel or simply enjoyable conversations – interactions that are rare in daily Japanese life.
With time running short, I decided to forgo the out-and-back to the second, nominally higher peak of Tengu-dake. This proved to be a wise choice, as the Kuroyuri-hutte campsite was rapidly filling up. I managed to squeeze my tent into a spot at the very back. The atmosphere was festive, with beer flowing freely. However, with no wind and close quarters, I was concerned about the potential for some heavy snoring.
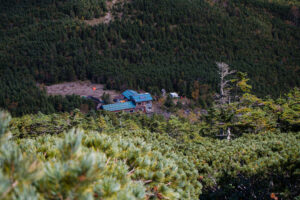
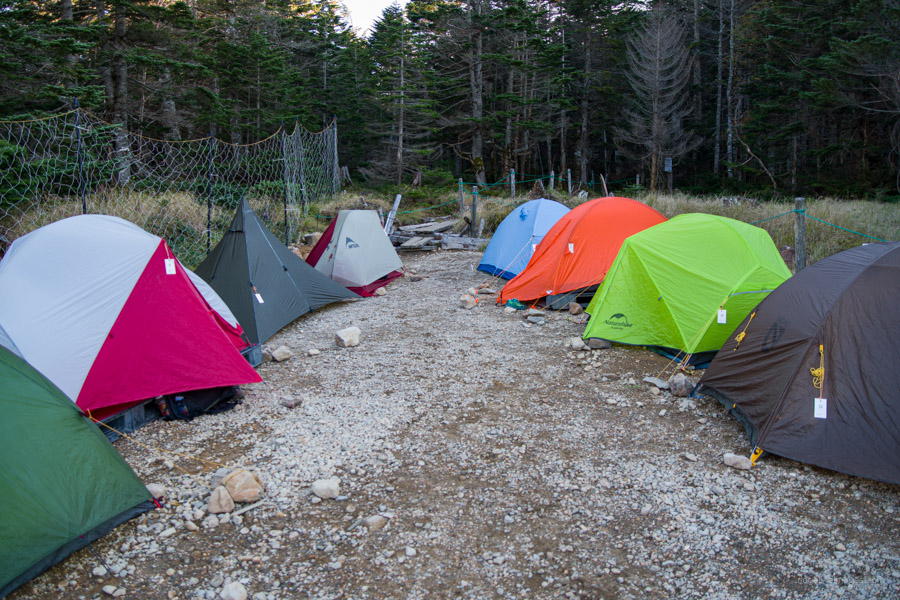 Kuroyuri Hutte campsite.
.
Day 3: Kuroyuri-hutte 黒百合ヒュッテ to Futagoike-hutte 双子池ヒュッテ
8hr 30 min 14.2 km 801 m 1135 m Oct 13, 2024
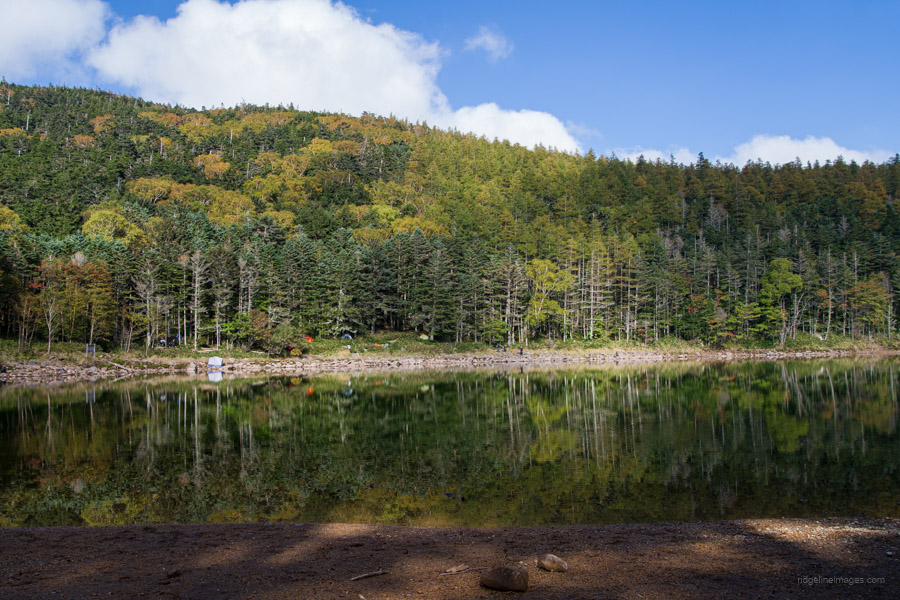 Looking across the Futago-ike to the campsite.
Route:
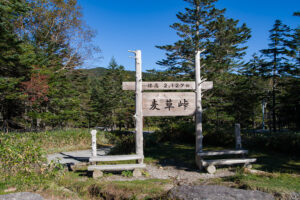
The morning begins with backtracking to Nakayama Pass 中山峠, followed by a climb up to its namesake, Naka-yama 中山 (2,496 m), which offers a nearby viewpoint. From here, you pass Takamiishi-goya 高見石小屋, another possible place to stay on Day 2 if you’re making good time. The trail then sweeps behind the hut as you ascend Maru-yama 丸山 (2,330 m) and descend again to Mugikusa-toge 麦草峠, where it intersects with National Highway 299.
After a breather, the trail continues across the road, first skirting left past Oishi Pass 大石峠, followed by a relatively steep climb up to Chausu-yama 茶臼山 (2,384 m). Drop your pack and take a short detour to a stunning lookout point. Similarly, at nearby Shimagare-yama 縞枯山, you can enjoy another great view after climbing to the top of some rocks. To reach Kita Yokodake, one option is via Amaike-yama 雨池山, or alternatively, as done on this hike, via Shimagare-sansou 縞枯山荘.
From the Kita Yokodake trailhead, begin along a well-trodden tourist path. The unique landscape here features flat terrain scattered with rugged lava rocks and no tall trees, as the area is fully covered in snow during winter. Soon, you’ll reach a fork where the promenade ends, and the mountain trail proper begins.
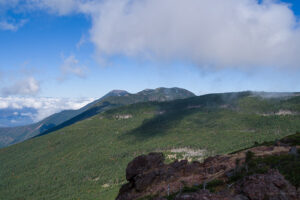
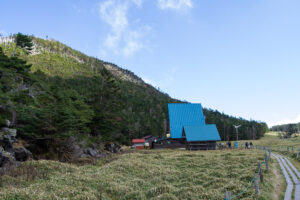
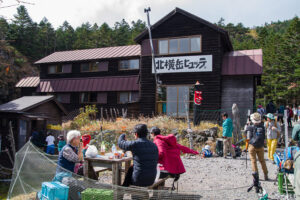
Since Kita Yokodake can be easily accessed by the Kita-Yatsugatake Ropeway, it is an immensely popular mountain in the Northern Yatsugatake area, making the trail extremely congested. After about 40 minutes of walking, you’ll arrive at Kita Yokodake Hutte 北八ヶ岳 北横岳ヒュッテ, which is just a short distance from Kitayoko-dake 北横岳 (2,480 m). Directly ahead, you’ll see Tateshina-yama, with Futago-yama to the right. Kitayoko-dake is a twin-peaked mountain; the highest point is the neighbouring northern peak, about five minutes from the southern peak.
From Kitayoko-dake, there are two descent routes to Futago-ike Hutte 双子池ヒュッテ. The recommended trail is via Kikkou-ike 亀甲池, as the route through Odake is reportedly challenging with boulder fields. Even the standard route is steep and washed out, making it slow-going. After passing Kikkou-ike, it’s another 30 minutes of walking before the trail opens up at Futago-ike. As the name suggests, Futago-ike consists of two ponds. In the past, camping was allowed on the sandy shoreline, but now most campsites are in the bamboo thickets on the opposite side. From the campsite and a designated hammock site, it’s a 5-minute walk to the Futago-ike Hutte.
To stay at the campsite, an advance online reservation is required. Aim to arrive early, as the best sites are snapped up quickly during popular times. A nice bonus is that dinner can also be requested by those staying at the campsite, which can be ordered when reserving a campsite, albeit you need to eat on the outdoor tables.
Diary:
Thankfully, the snores were confined to a couple of tents and far enough away not to bother me. But it was a truly cold night. Hoar frost was the least of my concerns – the tent fly had stiffened, and some sections of the tent pole had to be pried apart, having frozen in place. I was glad to have brought along a warmer pair of gloves for this trip. Leaving around 5 am, I used my headlamp to shed light on the trail for the first 30 minutes of the morning.
For the next couple of hours, I passed only a few hikers. Most overnight hikers understandably flock to the popular peaks, and around here was a little far from the action. When I arrived at Takamiishi-goya, several tents were still standing. I gingerly bit into a half-frozen Snickers and removed a layer of clothing. At Chausu-yama, another hiker recommended the nearby viewpoint, which didn’t disappoint. Afterwards, I descended to National Route 299 at Mugikusa-toge. I recalled finishing my Tateshina-yama hike here some years back and making the long bus ride back to Chino Station.
Turning onto the main hiking thoroughfare that connects Shimagare-sansou with the Kita-Yatsugatake Ropeway spelt the end of the peace and quiet. Another day of stunning weather was not to be wasted by the throngs of eager day-trippers who had just stepped off the ropeway, heading straight for Kitayoko-dake, which now resembled Takao-san on a busy Sunday afternoon. I shouldn’t have been surprised, as even during my last visit in less favourable conditions, it was bustling. All I could do was bide my time, speed hike when the opportunity arose, and hope to escape this hiking misery as soon as possible.
After finding a quiet nook for lunch, the last task of the day was descending to the Futago-ike Hutte campsite. This was my third stay at this wonderful spot overlooking one of the two ponds. In the past, you could simply show up unannounced, but now an online reservation is required. Fair enough – it has become popular, and few things are worse than an overcrowded campsite. However, what wasn’t quite so agreeable was the tone on their website. Regarding arrival time, for instance, they state that if you arrive after 4 pm, you’ll be refused accommodation. Use the toilet or water area outside the basic rate? You’ll be charged an additional night’s fee. Use the facility without permission? There’s a fine for that.
Usually, this kind of wording is all bark and no bite, but not here. Around 9 pm, I was awoken by footsteps approaching my tent, followed by a red flashlight beam – clearly someone checking tags to see who had paid. I’d also had a sneaking suspicion they might remove the tap handle from the water spigot after hours, so I made sure to fill up all my bottles, including enough for the following day. Sure enough, by morning, the tap handle was gone, with a sign posted on the neighbouring tap warning it was grey water only. Meanwhile, the campsite must have held 40 or more tents. I can only assume that someone once overused the water supply, leading them to these measures. The strict regulations and enforcement felt a bit excessive, even for a popular campsite.
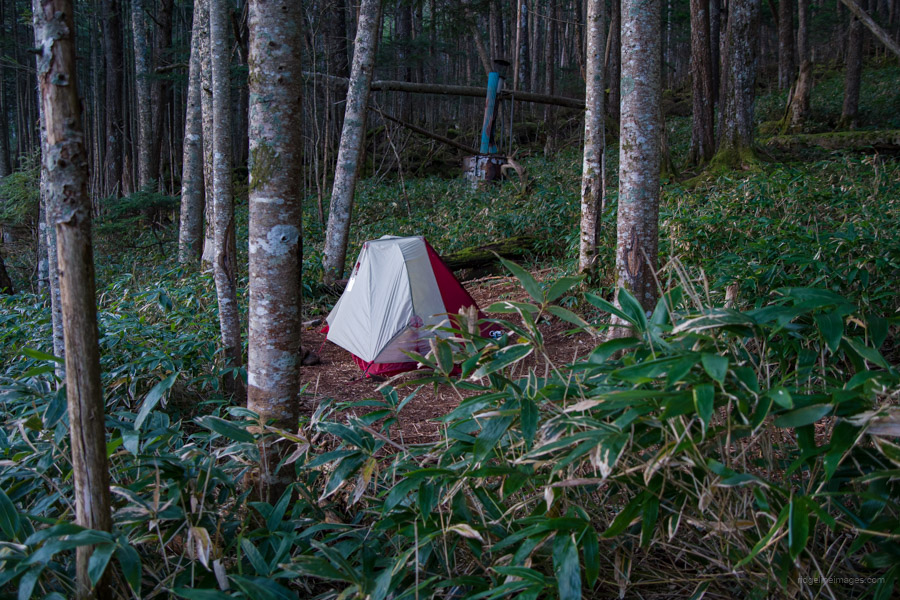 Futago-ike hut campsite.
.
Day 4: Futagoike-hutte 双子池ヒュッテ to Puru-daira bus stop プール平
6hr 12.9 km 638 m 1326 m Oct 14, 2024
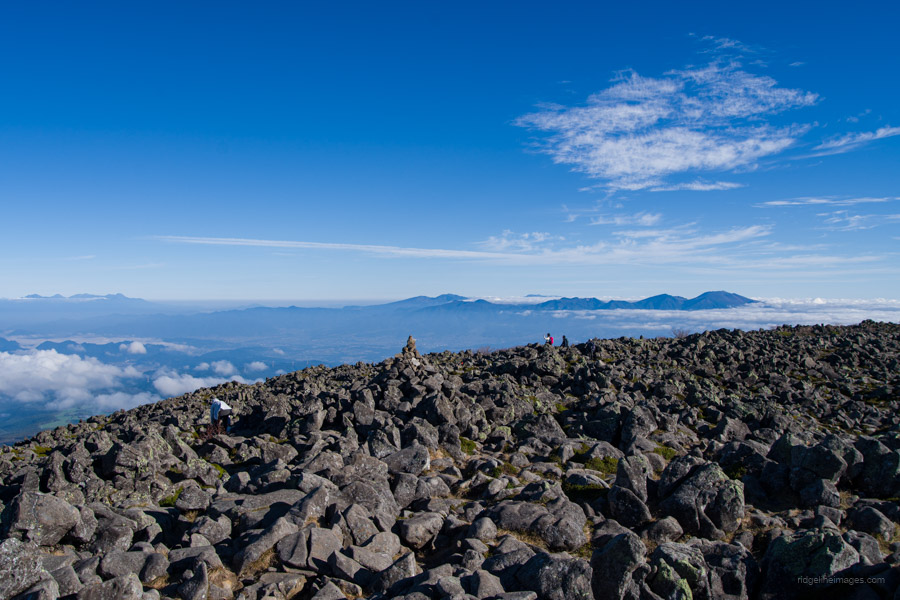 A 360-degree view from the summit of Tateshina-yama.
Route:
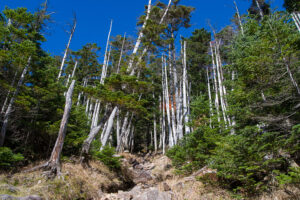
The trail to Futago-yama starts behind Futago-ike Hutte. The first section climbs through a dense bamboo forest, taking about 30 minutes to reach the summit. As seen from Kitayoko-dake yesterday, the summit of Futago-yama is a wide, open plain. From here, descend to Ogawara-toge 大河原峠, which can be accessed directly by car. The climb then begins in earnest, with no zigzags or bends. After ascending the steep slope, the trail flattens out as you approach Shogun-daira 将軍平, with the summit of Tateshina-yama visible through gaps in the striped, withered trees.
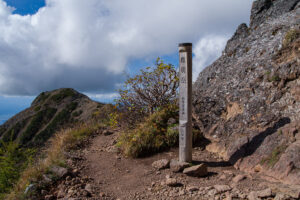
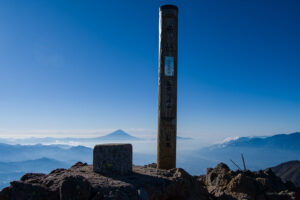
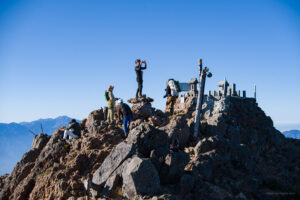
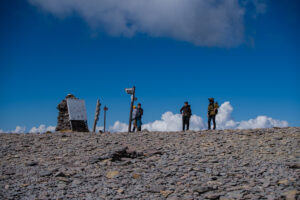
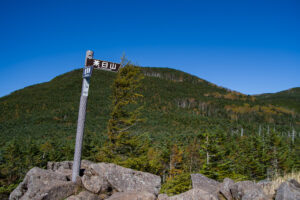
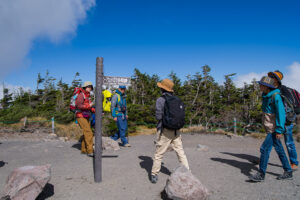
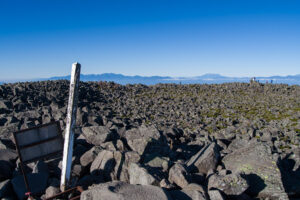
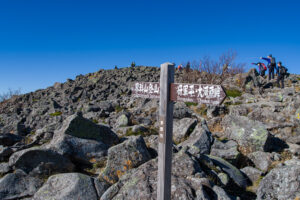
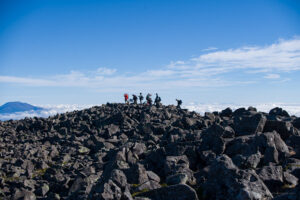
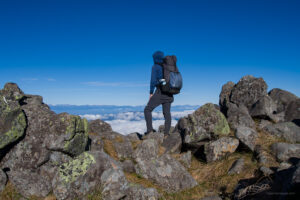
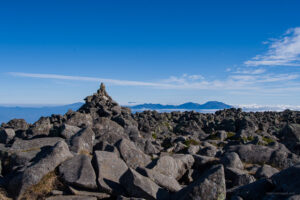
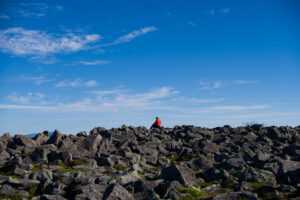
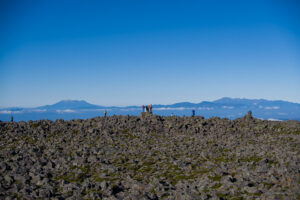
The Tateshina-sansou 蓼科山荘 is a good spot to take a break before the final push – often requiring all fours – to the summit of Tateshina-yama 蓼科山 (2,531 m). Just below the summit, the slope steepens further, and instead of a direct ascent, the trail veers left, following a traverse-like path until reaching Tateshina-sancho Hutte 蓼科山頂ヒュッテ. The summit of Tateshina-yama is an extremely wide, flat area scattered with lava rocks. The thin, shabby summit marker stick feels a bit underwhelming for one of Japan’s 100 Famous Mountains.
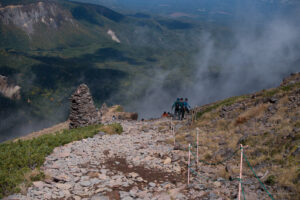
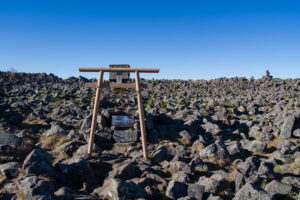
A bit further away is a small shrine and a second summit marker, both worth a visit in good weather. From the south side, you can see nearly the entire Southern Yatsugatake Range stretching back to Amigasa-yama. Below, you should also be able to spot the Kita-Yatsugatake Ropeway along with Mt. Kirigamine. After taking in the summit views, look for the orange-coloured poles marking the start of the descent. This trail is equally unforgiving – best described as a dry, rocky riverbed pitched at a steep angle.
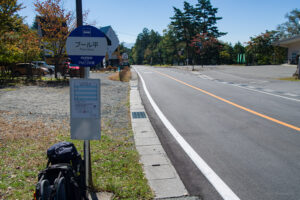
After descending for over an hour, you’ll reach Kotokudaira 幸徳平, a convenient spot for a break. The steep descent then resumes, eventually transitioning to a gentler slope before reaching the Venus Line, a scenic tourist road. While a bus can be taken from here, it runs only once a day and only during the peak summer season. From this point, head towards Puru-daira プール平 via the remnants of an old road where you can catch a direct bus back to Chino Station. The route is mostly flat, alternating between narrow paths and forestry roads. It takes about an hour to reach the Puru-daira bus stop and Tateshina Onsen 蓼科温泉浴場 (600 yen, 11am to 8:30pm), conveniently located just across the road.
Diary:
After shaking my head in utter disbelief that the hut management would purposefully remove the tap handle overnight without any notice, I set off just before 5:00 am. My early start was both to get ahead of the many hikers likely to be on the trail and to give myself enough time to make the 11:50 am bus from Puru-daira, nearly six hours of map time away.
Walking alone in near-pitch darkness through head-high kumazasa bamboo definitely makes you feel a bit vulnerable – any rustling in the undergrowth is enough to send a shiver down your spine. To put my mind at ease, I regularly called out, clapped my hands, and generally made my presence known. Soon enough, I was past that unnerving stretch, with the early morning rays lighting up the path ahead and a formidable Tateshina-yama rising dead ahead.
This would be my third time hiking up from Ogawara-toge. The first time, as I recalled in my Life Lessons Learned From 10 Years of Hiking and Blogging, I absentmindedly left my camera at the car park, requiring me to race back down the slope at breakneck speed before even reaching the first hut. Thankfully, a Good Samaritan handed it in to the nearby lodge. The second time, I made it to the top but found it shrouded in fog. Third time lucky, I figured.
As they say, patience is a virtue, and it paid off in spades with an incredibly fine view from the rock-strewn summit. Less fun lay ahead from the opposite approach as I tentatively made my way down a loose, rocky slope that seemed to shift beneath my feet, hoping not to turn an ankle or worse. Unsurprisingly, few hikers choose to ascend via this trail even in good weather. It was a relief to reach the Venus Line unscathed. Having made good time, I could take it a bit easier on the final stretch back to the bus stop. As tempting as a hot soak in the nearby onsen was, unfortunately, time wasn’t on my side.
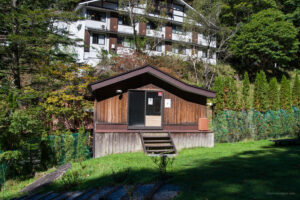
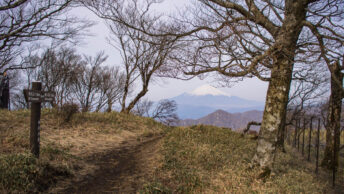
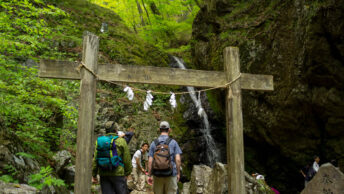
Bravo.
You were in my backyard. We just missed each other. I was on Iodake and Akadake on the 14th.
I’m glad you had some nice weather!
Cheers, Pat!
That’s what I thought when you posted your hike report. That said, this hike is right up your alley – you’d absolutely love it, and I’d love to see you hiking it sometime in the not-too-distant future.
Thanks for the guide, got inspired enough to do it myself! I copied this route in early June this year and was lucky enough to get some really fine weather the whole way. My main mistake was thinking June would be pretty warm in the morning and not packing gloves; climbing up Akadake in the shade and howling cold wind was tough to say the least. In fact, I saw a fair bit of shimo bashira ice just outside the Kiretto goya. One thing I noticed was that somehow the final climb up Tateshina was really not too bad despite being exhausted. I think it’s something about the rocky terrain forcing a slower pace and maybe that final push making life a little easier. Great route, hits that sweet spot between timing and sense of accomplishment.
Thanks, Kyle! Glad the guide inspired you to give it a go yourself, and great that you scored such fine weather. But as you discovered, early June can still be surprisingly cold, pretty comparable to the mid-October conditions when I did it.
The final climb up Tateshina isn’t too bad; it’s that long, knee-pain-inducing descent to the trailhead that gets you.