Tips for Planning a Successful Backcountry Adventure
Planning hiking trips back in Australia was generally a pretty straightforward affair; find some willing accomplices, get a hold of a topo map, pack your gear and start driving. All of this could be prearranged pretty quickly and without a lot of fuss. The operative word here is driving. The reality is the bulk of foreigners in Japan, or at least those residing in a major metropolis like Tokyo don’t have cars nor have ready access to one. Thus realising the logistics of getting to the trailhead can test the patience and endurance of even the most seasoned hiker. A couple of years back it was a drawn out 6.5 hours to reach the trailhead proper on this particular Golden Week hike.
On Tokyo’s side or for that matter just about anywhere in Japan, is ready access to a world class public transportation system. Not only is the train service reliable and extensive its propped up by a generally excellent rural bus network. In many cases with buses running to or near enough to the trailhead. What follows is a brief rundown of the planning and organisation that you will likely need to consider before embarking on a solo multi-day hike in Japan.
1. Plan the transportation carefully
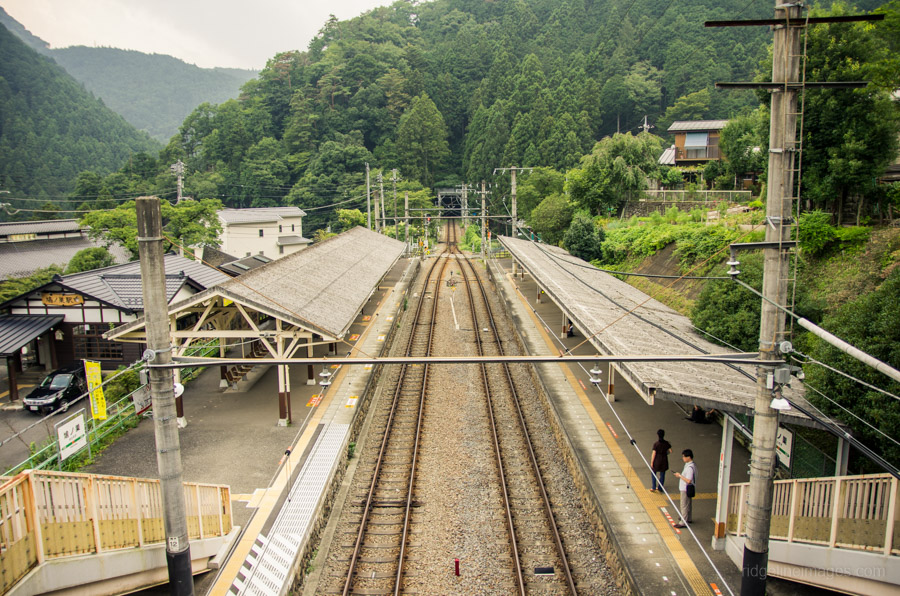
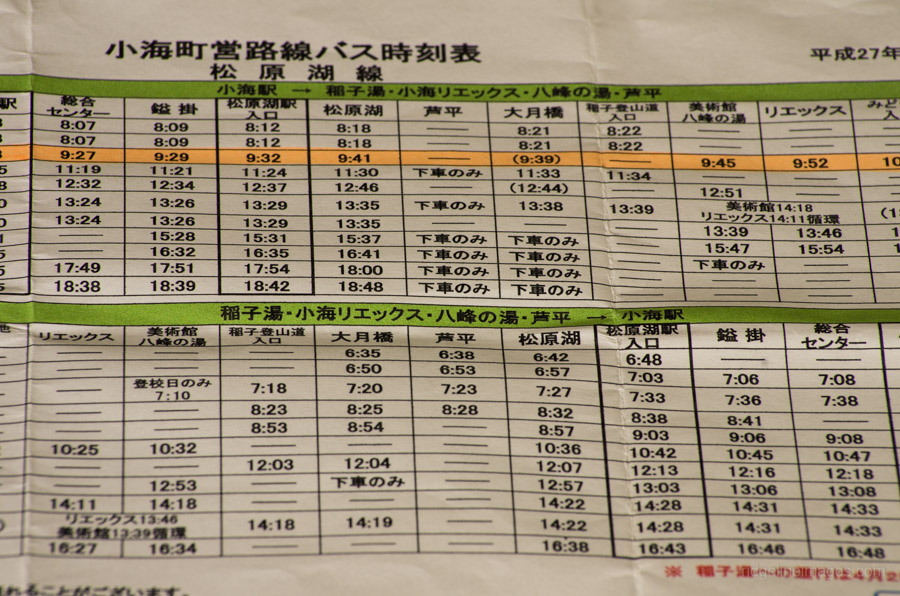
This one is probably going to be your toughest obstacle. While the rail network in Japan is second to none you will in most cases need to transfer to a local bus service. Of the 40 plus hikes documented on this site, around 30 of them required some form of bus transfer either at the start or end of the hike. Bus terminals are usually found outside of railway stations and smooth connections are possible with proper planning. Depending on your final destination, there may only be one one morning bus service with departure times varying according to whether it’s a weekday or weekend. Train connections can be easily worked out using the ever dependable HyperDia. For bus connections your best bet is enter the train station i.e. Otsuki Station 大月駅 in Japanese followed by bus バス. Also check the Yama-to-Kogen maps as they show local bus routes including their frequency and travel time. The bus system does have its limitations such as no weekday services in some districts so from time to time you might have pony up for a taxi fare .
2. Check the latest trail conditions
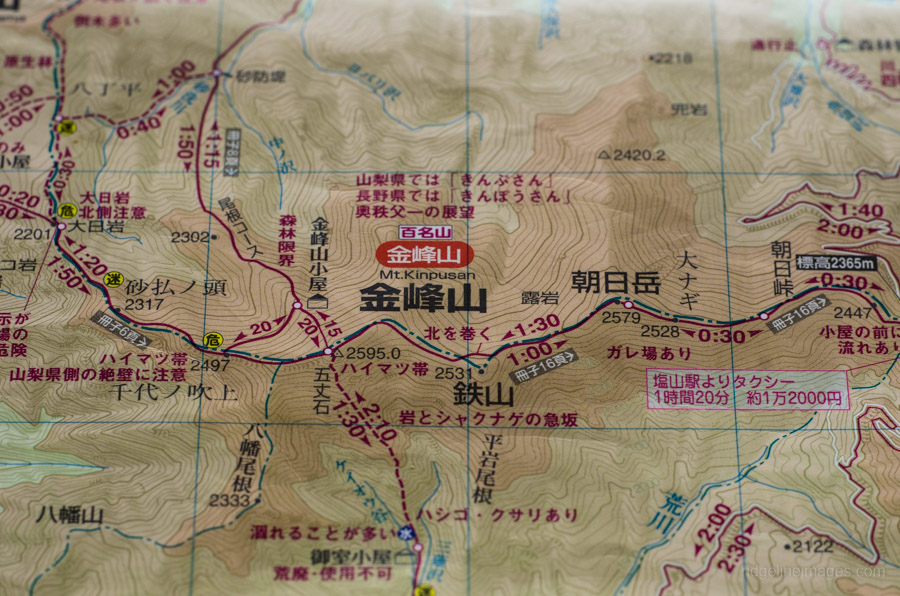
Your best ally in garnering dependable information about your hike will be Yamareco which is roughly equivalent to EveryTrail or AllTrails. Over the last ten years the site has amassed nearly 1 million trip reports and over 22 million photos and should be your first point of call for checking up on the latest trail conditions. While the site is only in Japanese, trails can be searched by entering the mountain name in kanji i.e. for Mount Kinpu try; 金峰山 with the results filtered in chronological order. Then it’s simply a matter of pasting the url into Google Translate.
3. Pack the right map
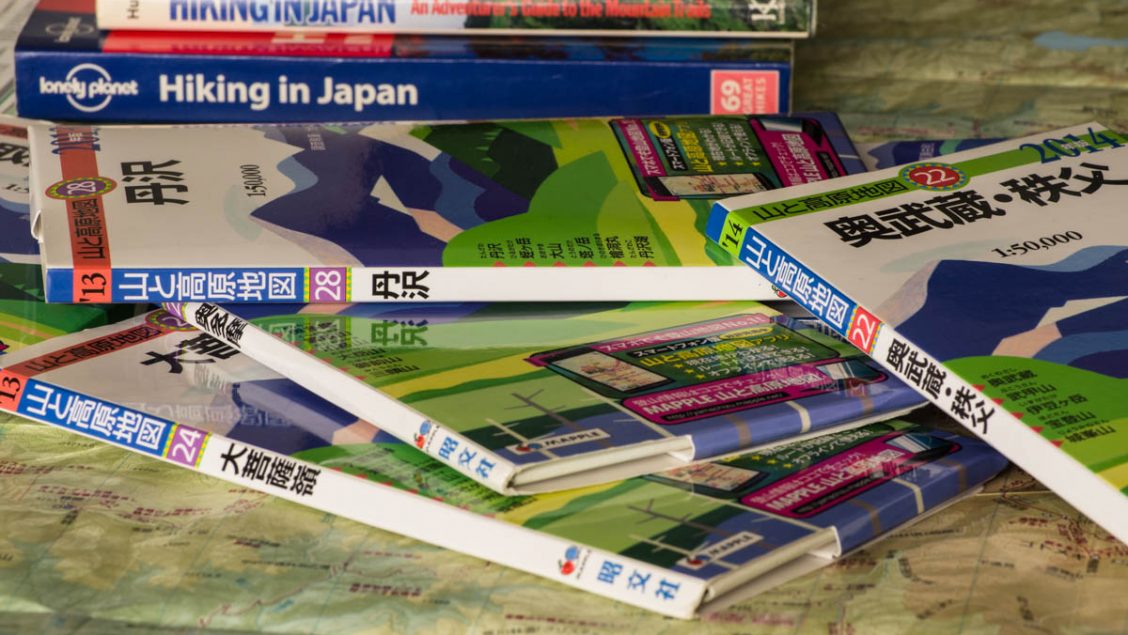
Apart from the most popular hiking destinations undertaken as a day trip, I would always recommend carrying the specific Yama-to-Kogen map series for the area. In time you will build up a solid inventory of these and given they all look much the same, double check that you are bringing the right one. Better still also carry a handheld GPS unit with the Japan 1/25,000 topo map series.
4. Keep an eye on the weather forecast
Mountain weather forecasting is notoriously fickle though two reliable sources I have found are; mountain-forecast and tenki to kurasu (Japanese). While neither of these can be totally dependable especially tenki to kurasu which often fluctuates between safe and unsafe climbing conditions, they will give you a rough idea of what to expect. Ideally start monitoring the weather a few days out and pay particular attention to wind speeds which in Japan are indicated as m/s (meters per second). Note that if forecast wind speeds are expected to exceed 15m/s (54 km/h or 33 mph) you should reconsider your plans.
5. Book your accommodation
In you intend on staying at a mountain lodge it’s a good idea to make your booking some days in advance. This is especially true during peak holiday periods such as Golden Week and the summer school holidays. In some instances, it may be possible to initiate this by email or have a Japanese friend telephone for you if necessary. Mountain lodges generally offer two kinds of tariffs, one for lodging plus dinner and breakfast and the other for lodging only (sudomari). Mountain huts are unlikely to turn you away especially the larger ones if you don’t have a booking but its best to be on the safe side. If you require meals and haven’t made a booking make sure you reach the hut no later than 3 pm. Pro tip, carry your own tent whenever possible for convenience and to save money.
6. Take out hiking insurance
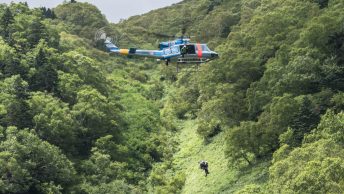
Arrange a search and rescue insurance policy. A quick glance at the most recent jRO (Japan Rescue Organization LLC) statistics makes for some pretty startling reading. In 2015 for example jRO was involved in 31 search and rescue missions averaging 327,000 (USD $3,100) per incident. With helicopter evacuations potentially topping 1 million yen it literally pays have some insurance at the ready. jRO has an annual fee 2,160 yen plus a one time joining fee of the same amount..
7. Tell someone
Finally, whether it’s a day hike or multiday traverse it’s always a good idea to give a copy of your itinerary to a family member or trusted friend. Try as much as possible to stick to the said route.
Hiking Preparation Timeline
• Check Yamareco for the latest trail reports taking note of potential problems such as closed trails and navigation issues.
• Decide where you will camp and collect water along the hike.
• Make sure that all your equipment is in proper working order.
• Stock up on gas canisters or cooking fuel; batteries for your handheld GPS and headlamp etc.
• Check your first-aid kit supplies.
3 Days before your trip begins:
• Start monitoring the mountain weather forecasts.
• If you intend on staying in a mountain lodge(s) make the necessary bookings.
• Begin preparing food supplies and assembling your required gear.
1 Day before your trip begins:
• Even if most of your planning is done using a smartphone; it’s a good idea to print hardcopies of the HyperDia and bus timetables.
• Make a copy of your hiking itinerary and give it to a friend or family member.
The day of your departure:
• Finish packing; top up your cell phone / smartphone battery and fill up your water bottles if necessary.
Excellent advice as always. I would just add…always check out the local visitor centre website as well. Yamareco is great, but the local visitor centre website often have additional information that can save you a lot of trouble. For example, trail closures, the location of hornets nests, damage to trails, bear sightings etc. The trail news for the Okutama area is here http://www.okutama-vc.com/%E7%99%BB%E5%B1%B1%E9%81%93-%E9%81%93%E8%B7%AF%E7%8A%B6%E6%B3%81%E4%B8%80%E8%A6%A7/
Thanks for the recommendation Adrian. A few years back, I remember being caught out with an unexpected trail closure in the aftermath of a typhoon which really stymied my plans and required a lengthy detour.