Viewing Interactive GPS Maps Then & Now
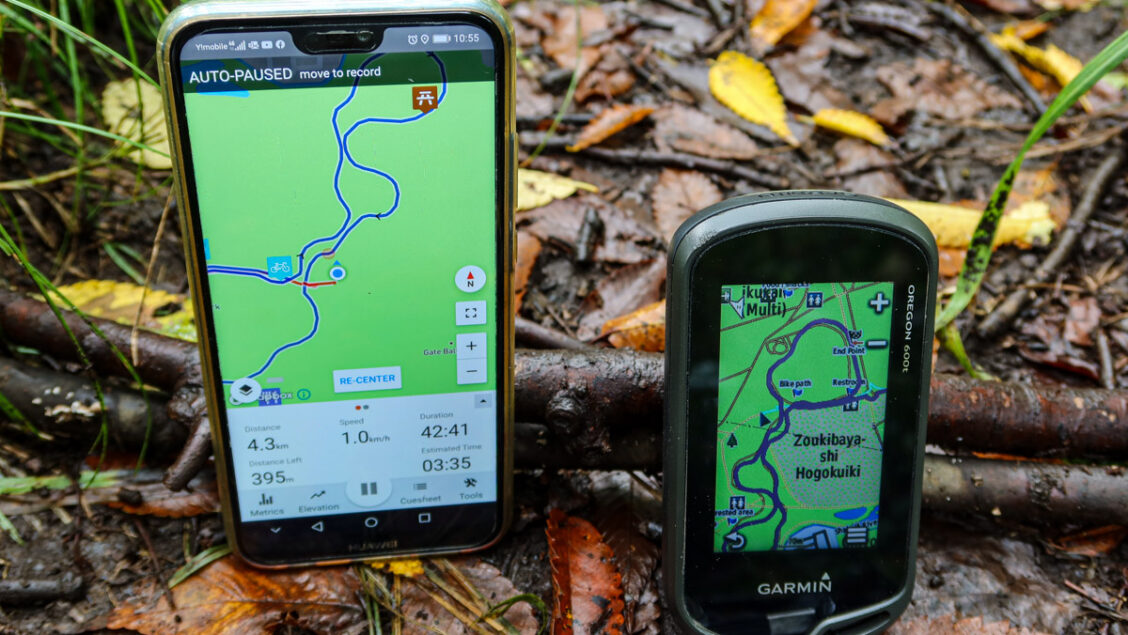
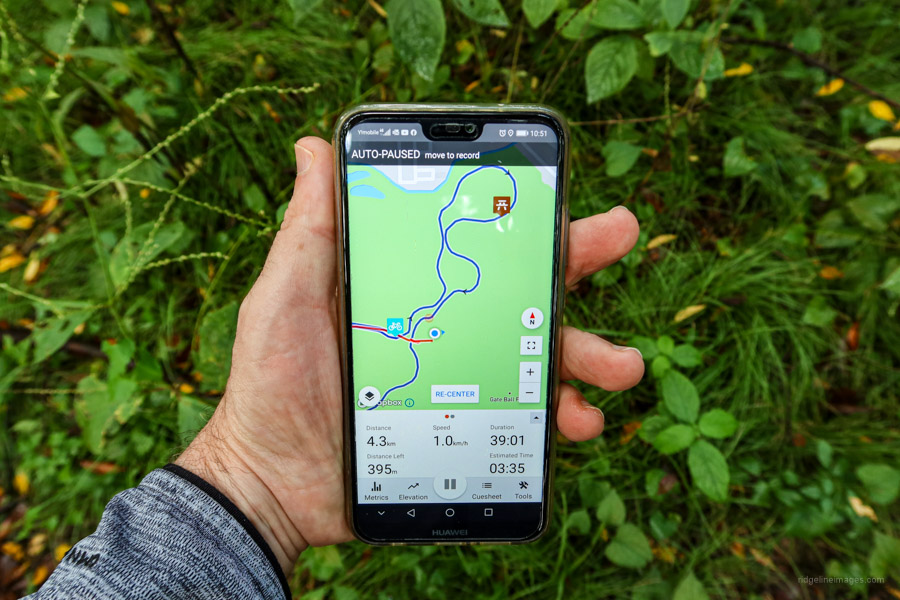
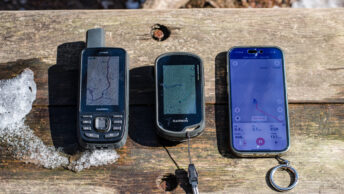
Not long after starting this blog I began using the pro version of WP Google Maps, a WordPress plugin to plot ‘polylines’ to display my hiking routes on Google Maps. As I commented at the time not having a map associated with each hike was a drawback of the site. Each new polyline was defined by clicking on the map to insert or move each vertex (waypoint) which was both time consuming and not exactly accurate. In many cases it was just a best guess of the route as Google Maps typically doesn’t display contour lines or hiking trails. For comparison I’ve included below an example of the polyline hiking route side-by-side with new interactive map app.
Another issue was and still is the polyline data can only be downloaded to a CSV file for use in a spreadsheet program, such as Microsoft Excel as the plugin doesn’t have compatibility with GPX coordinates. Finally, WP Google Maps doesn’t provide a means to display the elevation profile of the route such as sites like YamaReco and AllTrails.
Ride (and Hike) with GPS
So, bye-bye WP Google Maps and hello Ride with GPS arguably the most comprehensive bike (and hiker friendly!) route planner out there. This is also a good time to give a shout-out to Rob Thomson at Hokkaido Wilds for his assistance in helping me get started with the app. With over 80 hikes on Ridgeline Images I thought it would take at least a month to switch them over to Ride with GPS, but thanks to its user-friendly interface getting the workflow dialled in was a breeze and ended up taking less time than expected. Rather than tidying up existing GPX files I found it more time-efficient to replot most of the hiking trails using the route planner that just snaps onto roads and trails you tap. Anyhow, instead of waxing lyrical about the benefits of switching to Ride with GPS let’s talk about some of the tweaks I’ve made to each hike report and map. In this example I’ll use Mitosan a perennial favourite amongst Tokyo based hikers.
Mt. Iyo イヨ山 – Mt. Nukazasu ヌカザス山 – Mt. Mito 三頭山
Distance: 11.4 km
Elevation change: 991 metres
Highest point: 1531 metres
Difficulty:
Start: Ogouchi Jinja Bus Stop
Finish: Kazuma Bus Stop
Map: Yama to Kogen Chizu 山と高原地図 [No.24 奥多摩 OKUTAMA]
GPX TrackKML TrackGSI MAPPDF Topo Map
The summary table now includes the GPX track and KML files.
Additions to the Hike Summary Overview
Straight off the bat the summary table now includes the ability to print a PDF topo map. The default size is A3 however can be scaled according to the paper size. These simplified topographic maps are designed to show ‘at a glance’ an overview of the hiking route annotated with POIs (Points of Interest) rather than the granular detail found on the Yama to Kogen map sheets. Hopefully, a useful aid when initially planning out the hike though not meant as a substitute for carrying a proper topographic map.
Downloadable PDF topo map showing the route and POIs in the margin.
Google Earth like a Boss
Next up is the GPX track file which includes POIs seen on the embedded maps saved as waypoints. You can also download directly from the Ride with GPS GPX URL but will strip it of POIs unless you’re a premium subscriber. Last of all is the Keyhole Markup Language (KML) file for use in the Google Earth platform. This nifty file provides a bird’s-eye view of the hiking route in its full glory. Terrific for previewing what the passes look like, places you’ll be camping and overall terrain you’ll be up against. Just download and open the file in Google Earth and it will teleport you to the hike (zoom down closer to ground level to see the three-dimensionality come to life).
 The Google Earth platform allows the hiking route ‘come to life’ in 3D.
Sharing Your Hiking Adventures With Ride With GPS
This brings us to the Ride with GPS embedded hiking route itself. Each interactive map shows the POIs which can be hovered over or clicked to show more information along with the elevation profile underneath. Unlike the WP Google Maps plugin where you are constrained to Google Maps roadmap, terrain, satellite and hybrid variants, Ride with GPS also includes a further five styles for use outside the U.S. (excl. USGS Topo & USGS Scans) which can be changed on the fly. These include ESRI Topo and the rather excellent OSM Outdoor and RWGPS: Ride with GPS signature map both of which are based on Open Street Maps. You can also click and drag the elevation graph to select parts of the route.
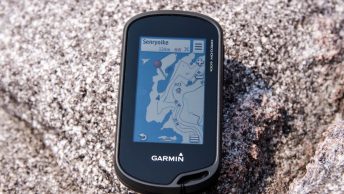
Clicking “View Full Version” goes to the ride page for additional metrics, export and sharing options. After installing the Ride with GPS app on your device, clicking “Send to Device” is an easy two-step process to send the route to an iPhone or Android device (also compatible with iPad, Apple Watch, Android Wear and Garmin Edge). After doing this tap the notification on your smartphone where you will be prompted to view or download the route and Bob’s your uncle. Note only basic and premium subscribers can download their routes to their phones and navigate without a data connection. Alternatively download the GPX track and use it on any handheld GPS unit such as the Garmin Oregon 600t.
Ride with GPS interactive map and POIs.
Over the years I’ve had numerous requests to upload GPX tracks from my hikes and hope that implementing Ride with GPS on Ridgeline Images goes some way towards redressing this shortcoming. As always if you have any feedback, suggestions or pearls of wisdom please leave a comment.


Awesome – glad RideWithGPS has worked out for you!
I feel it’s going to be a real game changer for the blog and is probably something I should have done some time ago. Thanks again for your help!
One other thing you can do with the KML is import it into the free GSI web maps : https://maps.gsi.go.jp/ and print to PDF from there. That map is often more detailed in term of trails than OSM or the alternative web maps.
Good suggestion! While I’m aware of the GSI web maps it hadn’t crossed my mind that you could import KML files. Something to think about for the future.
Is there any specific benefit of Ride with GPS versus, let’s say, Alltrails, who also let you embed GPX routes on external sites?
Thanks for the question Ben. The decision to go for RideWithGPS over for example Gaia GPS or Alltrails was that from my research it’s the best app for route planning and sharing on blogging platforms like WordPress. It also gains credibility when the founder of a site like bikepacking.com writes “In my opinion, the RWGPS web planning tool is the best out there. It offers all the necessary base layers to do anything you need … and the drawing interface works really well and allows a lot of freedom.” Logan Watts. I think the differences between these ride/routing apps is pretty subtle so ultimately it comes down to the variety of base maps they offer for accurately planning routes on hiking trails, ease of use for example RideWithGPS can reverse the direction with one click and how the maps output on the frontend which this app also executes extremely well.
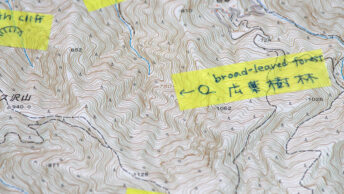
This is all wizard stuff – especially the Google Maps feature where you can see what you’re getting into in 3D awesomeness. But, you know what, many of those pioneers of the Japanese Alpine Club in the Taisho / early Showa years were nostalgic about the period when there were no maps at all (up to about 1915 in the case of the Northern Alps). Said our favourite author (talking about the crater on Washiba-dake ” In that pioneering era, such unexpected discoveries were not uncommon in the Northern Alps. Today, mountaineering is much more convenient but it has lost this element of surprise and wonder …”
Indeed, it is and hats off to those brave enough to venture into the Japanese Alps back in the day ill equipped by today’s standards. I was only reading this week that the first complete map of Japan using modern surveying techniques wasn’t published until 1821. So, it doesn’t surprise me that it took a further 100 years for the first ‘hiking maps’ of the Northern Alps to come out in print. I agree with Fukada to a point however there remains plenty of unexpected discoveries albeit on a much smaller scale waiting to be noticed if we take the time to look around 🙂
Thanks for this. I’ve been using your GPS routes these 2 months and they’ve been great. I like how they give beeps when I seem to be off route. I signed up to use the offline version. 2 things. 1. I’m not getting any verbal cues, but this is turned on in settings. Are there cues in your maps?
2. I sometimes seem to have difficult time getting to this route that shows where I am as the blue dot and then going in and out of elevation. I’ve tried to find a tutorial online both by searching for ‘ride with GPS’ (using hiking as well) and on their site, but I haven’t found anything that helps. I’m not planning my own hikes for a while until I do more of yours, but if you have any tips for how to best use this for newbies that would be great.
No problem. Unfortunately, no verbal cues only Points of Interest (POI) have been added to the routes to provide additional details on the map. One important point, you have to be a Ride with GPS premium member in order to download the GPX file with those POIs. To counter this, after planning a route, I always download the POI-included GPX file myself, and upload that to the blog for people to download. In other words, always click on the ‘GPX Track’ (red) button on the blog rather than ‘Export GPX File’ on the Ride with GPS website. As for the other issue, I’m afraid I don’t have an answer.