A Simpler Way to Digitize Film Slides with a DSLR
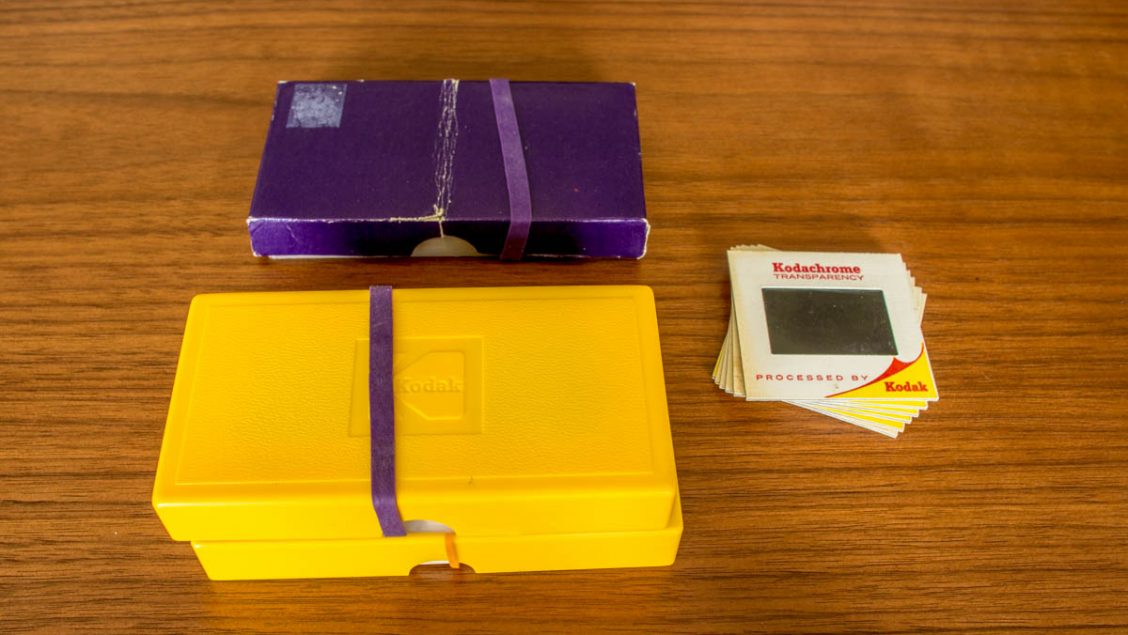
Digitizing old print photos is a relatively straightforward way to conserve your images and is usually only a matter of popping them under a flatbed scanner. Scanning reversal film sides on the other hand can be an onerous undertaking especially without access to a dedicated film scanner. This was the situation I was up against recently, tasked with scanning several boxes of fading family memories. While most of the images were everyday snaps from the 1970s, included was a set of historical slides dating from the 1964/65 Australian Scout Jamboree in Dandenong, Victoria.
The slide formats included the now obsolete 126 “Instamatic” with a square profile along with standard 35 mm film. Working with slides can be a nightmare at the best of times without having to deal with varying frame sizes. Given the relative small number of slides needing digitizing (less than 100) and being already in possession of a DSLR camera, I decided the best way forward was to fashion a setup similar to others I’d seen facing the same dilemma.
The first attempt at capturing a sharp image fell short, as lacking a macro lens meant having to heavily crop the photo during post-processing. Not being keen to fork out several hundred dollars for a macro lens, I decided to make a smaller investment in a Kenko achromatic close-up lens (PRO1D AC Close-up Lens No.3). While there are cheaper single element designs they have a tendency to towards chromatic aberrations.

Shot taken without a close-up lens.
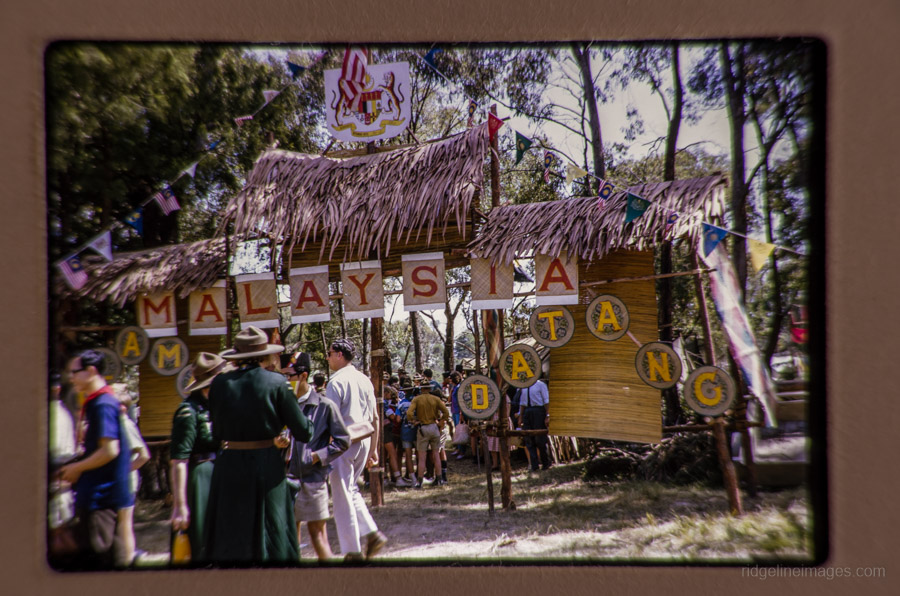
Uncropped image with a close-up lens attached.
For this setup you will need the following equipment:
DSLR camera with a telephoto lens
Tripod
Remote shutter release
Close-up filter or close-up lens (No.3 Achromatic-Lens)
Cutting board and utility knife
A4 card stock / cardboard offcuts / glue
A translucent light source (22W Cool White CFL globe – 6700K)
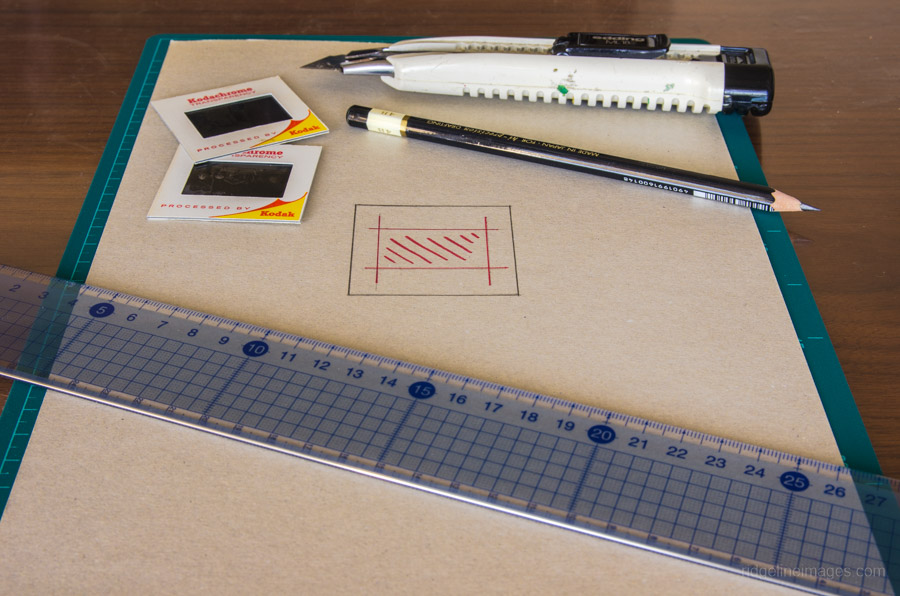
Step 1. Cut out a template
Trace an outline of the slide mount and transparency on A4 card stock to fit snuggly around the transparency and cut out the appropriate frame size. The card works twofold by minimizing light leaking from the backlight while ensuring each slide is photographed from the same view point. The 126 slide format is (27 mm x 27 mm) and 35 mm slide (34 mm x 23 mm).
Step 2. Glue on cardboard mounts
Affix two small pieces of thick cardboard above and below the slide mount outline to retain the mounted slide.

Step 3. Tape template to a lightbox
Secure the A4 card with tape to a lightbox or lamp – using a cool white CFL globe works best. Another adaptation of this technique attached the card stock to a translucent chopping board, propped against a sunlit window, but any direct light source will do the trick.

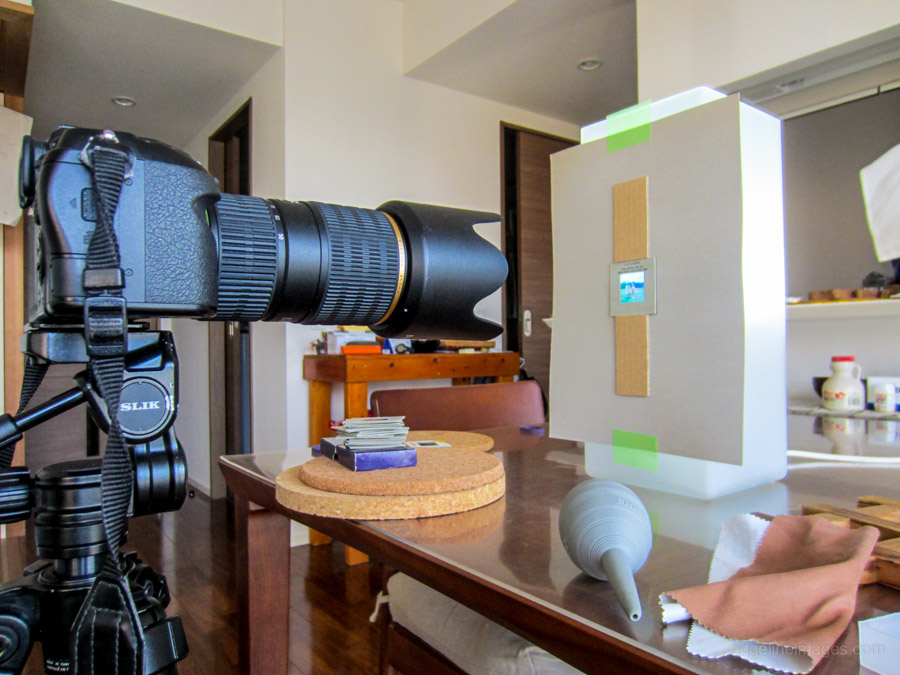
Step 4. Grab your DSLR camera and tripod
Set up your DSLR camera with the close-up lens on a tripod with a remote shutter release. Zoom in on the transparency to make sure it fills most of the viewfinder. Finally, try to align the camera’s sensor parallel the transparency to ensure the edges of the slide remain in focus. This part can be somewhat tricky but using an aperture of around f/11 or f/13 helps to reduce blurring.
While the digitized images may not have the same polished look as a professional film scanner the results you can expect post-processed in Lightroom are actually quite good. Importantly, it means your treasured slides have another opportunity of being viewed and admired for years to come.